
Let’s start by making your website look like your brand. In this tutorial, you’ll learn how to update the logo and change your site’s global color settings using Elementor Pro.
This is one of the easiest ways to give your site a personalized, professional feel, without needing to touch every single section manually.
Step 1: Log In to Your Website
Go to your website login page and enter the login details I sent in your Website Owner’s Manual.
Once logged in, you’ll land in your WordPress dashboard.

Step 2: Access the Elementor Site Settings
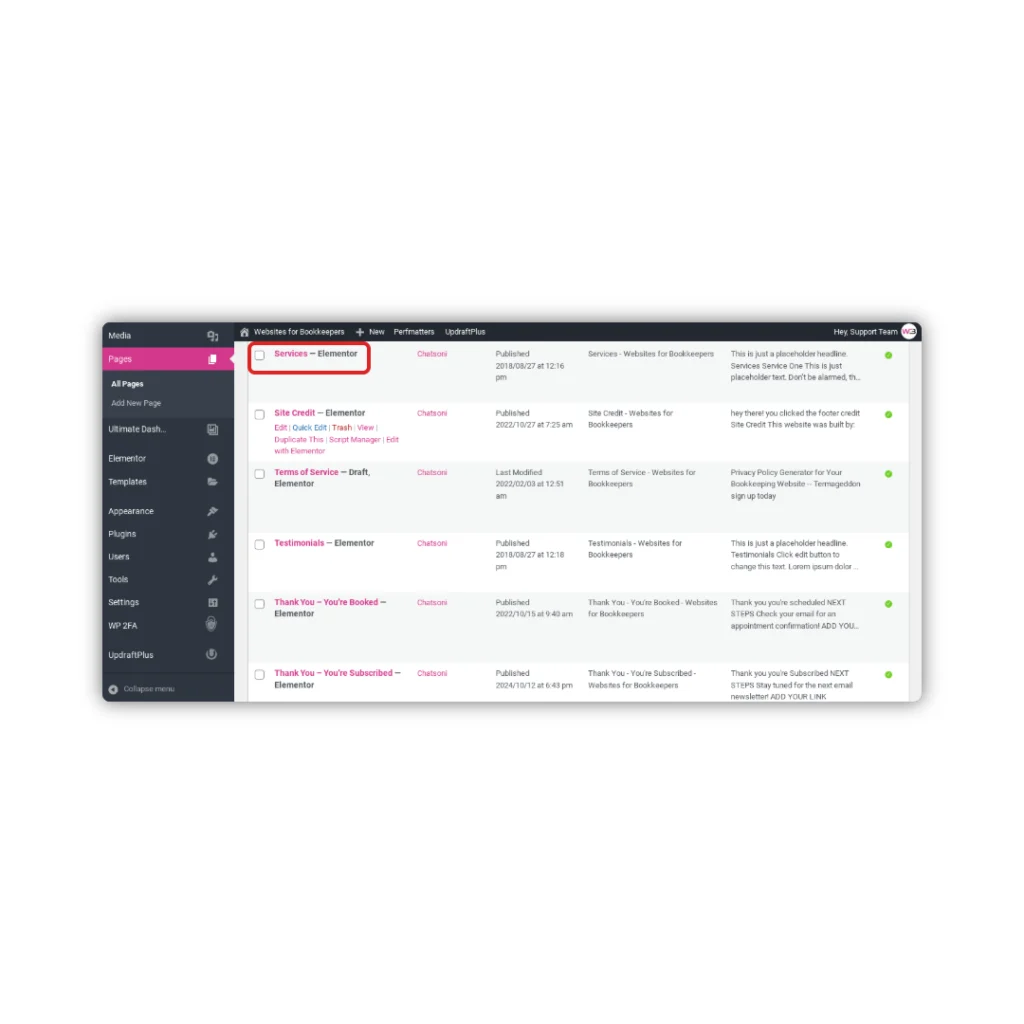
- From your WordPress dashboard, click Pages in the left menu.
- Open any page (like Services) by clicking Edit with Elementor.
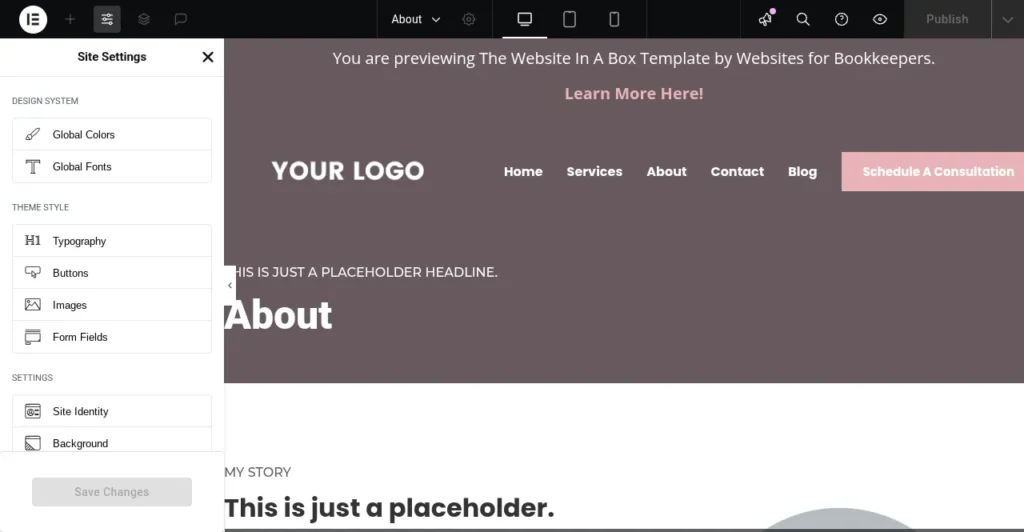
- In the Elementor editor, click the menu icon (three horizontal lines) in the top left corner.
- Click Site Settings.
This is where you’ll control global settings like colors, typography, and the default styles used throughout your site.

Step 3: Update Your Logo
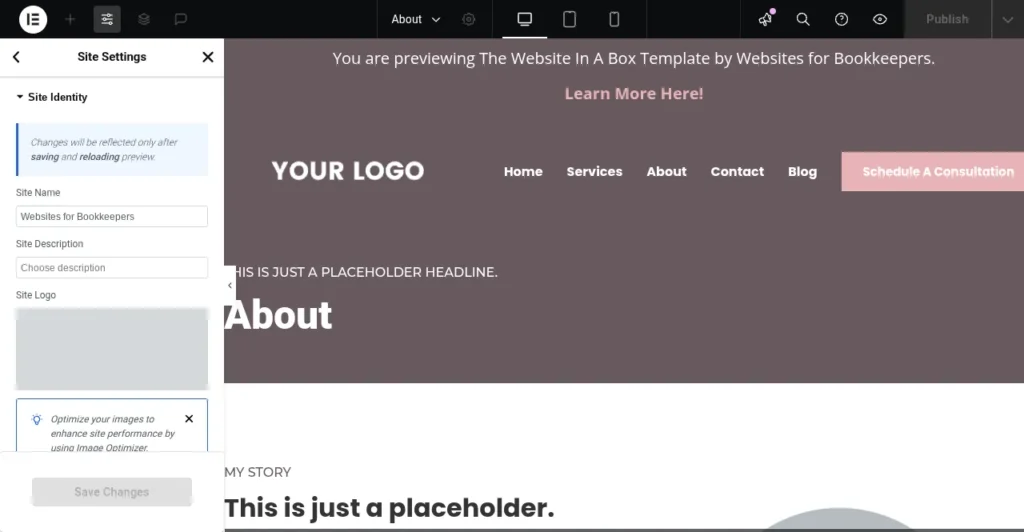
- In Site Settings, click Site Identity.
- Click the Logo area to upload your logo file (recommended format: PNG with a transparent background).
- You can also upload a Site Favicon (browser icon) here if you’d like—just keep it simple and square (512x512px works great).
- Click Update to save your changes.
Tip: If your logo looks too big or too small in the header, I’ve built the header using Elementor’s Theme Builder, so you can adjust the logo size manually by editing the header template. (See the “How to Edit Your Header” guide for help.)
Step 4: Change Global Colors
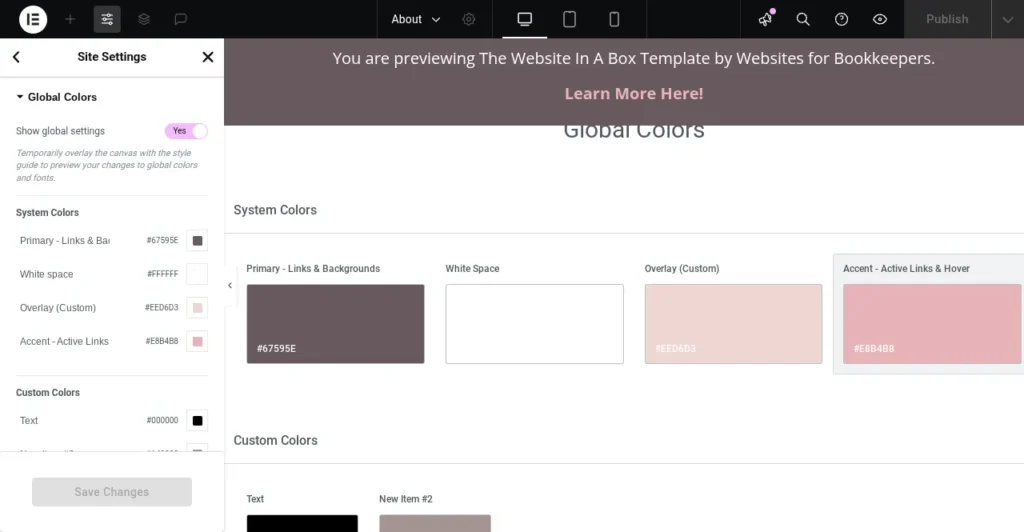
- In Site Settings, click Global Colors.
- You’ll see pre-set color categories (like Primary, Secondary, Accent, etc.).
- Click on each color swatch to update it to your brand’s colors.
- Once you’re happy with the updates, click Update in the lower left corner to save.
These colors are applied site-wide—meaning when you change a global color, it automatically updates across all buttons, text, and sections that use that color.
Important: If you change a global color and don’t see the changes right away, try refreshing the page or clearing your browser cache.
Step 5: Save a Backup
Before logging out, I recommend saving a backup of your site.
Here’s how:
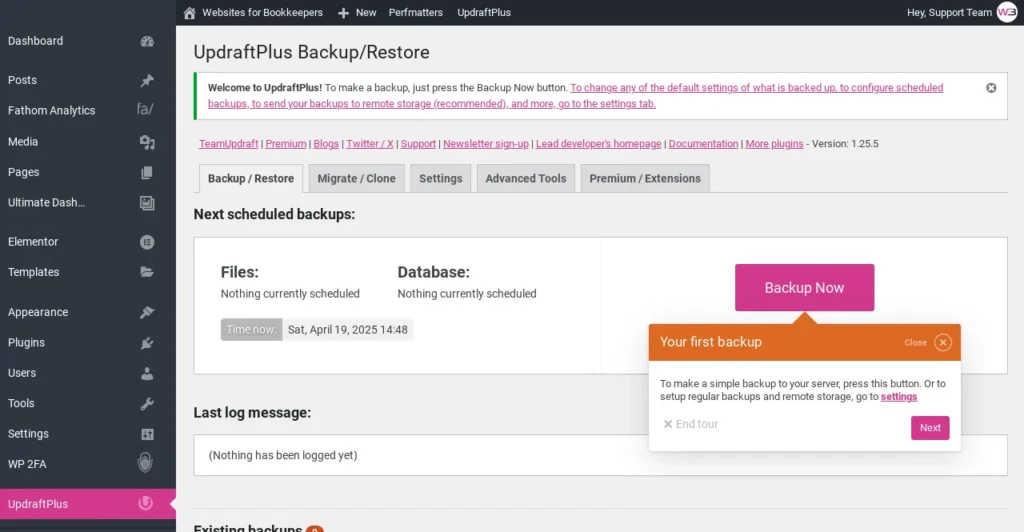
- From the WordPress dashboard, go to Settings > UpdraftPlus Backups.
- Click the Backup Now button.
- Leave both checkboxes checked and click Backup Now again.
- Wait a minute while the backup runs—it’s fast, I promise.
This way, your hard work is saved, and you’ll have a restore point if you ever want to go back.
You Did It!
You’ve officially branded your site! Your colors and logo are now live across every page and section that uses global settings.
Next up: How to Edit Your Homepage »