
If you’re ready to start selling digital products on your website, like the white-label digital products included in the Social Accountant membership, you’ll need to connect a payment processor to your e-commerce platform.
This tutorial will walk you through:
- Creating Stripe and PayPal Business accounts
- Sharing admin access with your web designer (if needed)
- Two ways to sell digital products:
- Option 1: SureCart (e-commerce plugin installed on your site)
- Option 2: Instant Checkout Links (no plugin required)
Stripe vs PayPal: Setup
Before you sell anything, you’ll need to create accounts with one or both platforms.
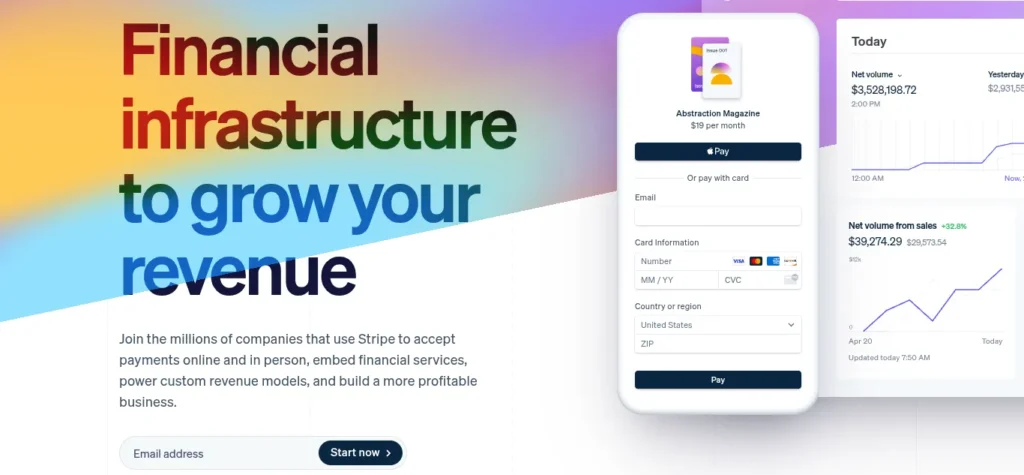
Create a Stripe Account
- Go to https://stripe.com
- Click Start Now, enter your info, and follow the setup prompts
- Verify your business info and connect a payout bank account
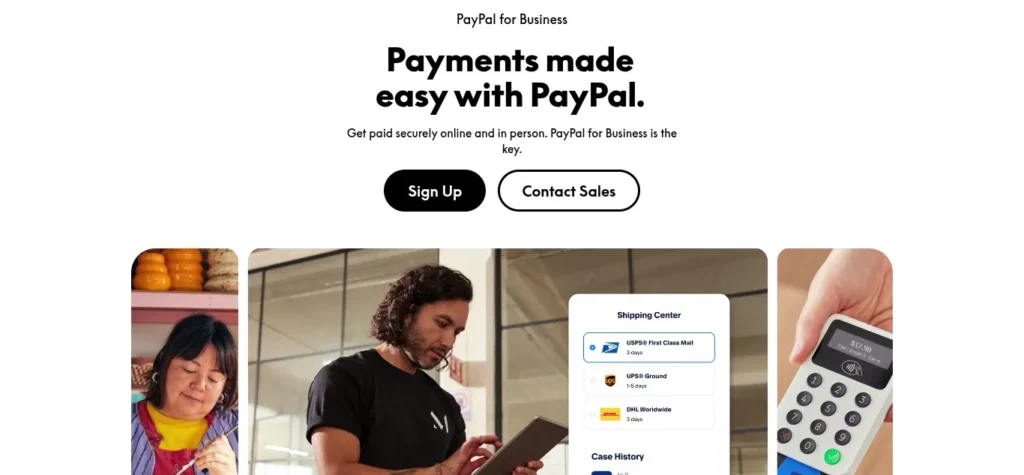
Create a PayPal Business Account
- Visit https://paypal.com/business
- Click Get Started and select Business Account
- Enter your business details and link your bank account
Two Ways to Start Selling
You can set up your store in two different ways, depending on how hands-on you want to be.
| Feature | Option 1: SureCart | Option 2: Instant Checkout Links |
|---|---|---|
| Setup Type | WordPress plugin | Hosted by Stripe or PayPal |
| Website Integration | Embedded on your site | Opens in new tab or pop-up |
| Best For | Full product library or service sales | Simple product sales or affiliate links |
| Digital Delivery (Auto) | ✅ Built-in file delivery & license management | 🚫 Manual email follow-up (unless automated) |
| Cart + Upsells | ✅ Yes | 🚫 Not supported |
| Embedding Options | ✅ Shortcode, Gutenberg, Elementor | ✅ Button or link |
| Reporting & Refund Management | ✅ All inside WordPress | ✅ In Stripe/PayPal dashboards |
| Tech Skill Required | Moderate (with support available) | Low (no plugin installation needed) |
Option 1: Set Up SureCart (Recommended for Flexibility)
If you’re selling more than one product—or want to offer bundles, discounts, or future subscriptions—SureCart gives you the flexibility you need.
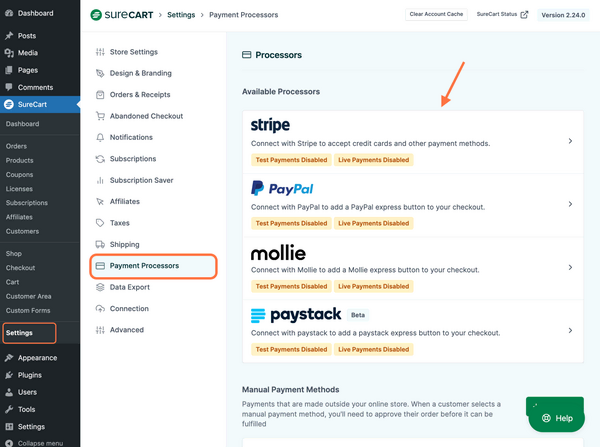
Connect Your Payment Processors
- In your WordPress dashboard, go to SureCart > Settings > Payments
- Click Connect under Stripe
- Log in and authorize access
- Click Connect under PayPal
- Log in and authorize access
Create and Sell a Digital Product
- Go to SureCart > Products > Add New
- Choose Digital Product
- Upload your file or paste a delivery link (Google Drive, Dropbox, etc.)
- Set pricing and publish
Ready to create your SureCart payment links?
Visit SureCart’s official documentation for step-by-step instructions on setting up products, connecting payment processors, and generating direct checkout links to embed on your site or share in emails.
Option 2: Use Instant Checkout Links (Recommended for Simplicity)
If you only want to sell one or two items—or need a fast setup without touching your site—this is your best bet.
Stripe Payment Links
- Go to https://dashboard.stripe.com
- Click Payments > Payment Links > Create Payment Link
- Choose “One-Time Payment”
- Add your product, price, and digital delivery instructions
- Copy your checkout link and paste it anywhere
Setting up a Stripe payment link for the first time?
Visit Stripe’s Getting Started Guide to learn how to create hosted checkout links without writing any code. Stripe walks you through adding products, setting prices, and sharing the link on your website or social media.
PayPal Buttons or Links
- Go to https://paypal.com/buttons
- Choose Sell a Product or Service
- Add product details and pricing
- Customize the button or use the direct URL
- Add the link to your site, landing page, or email
Need to set up a PayPal payment link?
Visit PayPal’s Business Help Center to learn how to create a “Buy Now” or “Pay Now” button, customize your payment settings, and generate a link you can share with customers.
Need Help Deciding?
If you plan to:
- Build a small online store with multiple products
- Offer limited-time discounts, coupons, or upsells
- Automate digital product delivery
👉 Go with SureCart (Option 1)
If you just need:
- A fast way to sell one product or an affiliate bonus
- A no-maintenance setup that works outside your website
👉 Use Instant Checkout Links (Option 2)