
Adding a calendar to your website makes it easy for leads to book a call without the back-and-forth emails. Whether you’re using Calendly, Acuity, Dubsado, or TidyCal, this guide will show you how to embed your scheduler directly into your Contact page or CTA section using Elementor.
Step 1: Copy Your Embed Code
Choose your scheduler below and follow the steps to get your embed code:
If You’re Using Calendly
- Log in to your Calendly account
- Click Share Your Link
- Choose Add to Website
- Select Inline Embed
- Customize the widget if you’d like
- Click Copy Code
If You’re Using Acuity (Squarespace Scheduling)
- Log in to your Acuity account
- Go to Scheduling Page Link > Embed Scheduler
- Choose Inline Embed
- Copy the full HTML embed code
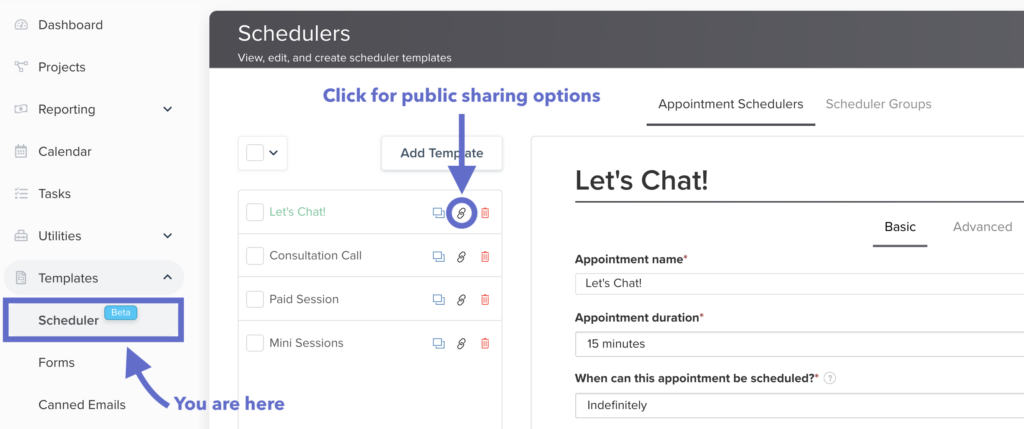
If You’re Using Dubsado
- Log in to your Dubsado dashboard
- Go to Templates > Scheduler
- Click your scheduler
- Click Share, then Embed Code
- Copy the Inline Embed Code

If You’re Using TidyCal
- Log in to your TidyCal account
- From the dashboard, click Booking Links
- Click the three dots next to your link and choose Embed
- Choose Inline Embed and copy the code provided

The Booking Type embed code will look like this:

Step 3: Paste the Embed Code into Elementor
- Go to the page where you want to embed your calendar (e.g., Contact page or Homepage)
- Click Edit with Elementor
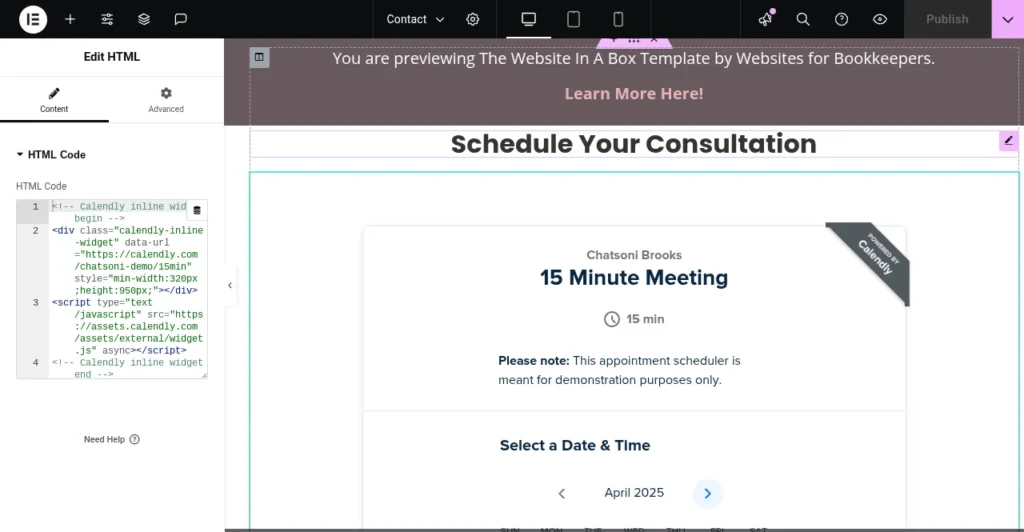
- Drag the HTML widget into the section where you want the calendar to appear
- Paste your embed code into the left-hand panel
- Click Update to save
Step 4: Resize If Needed
Some scheduling tools let you set a fixed height. If your calendar looks “cut off” or too tall, go back to the scheduler platform and adjust the embed height.
Most of the time, a height of 600–800 pixels works well for inline embeds.
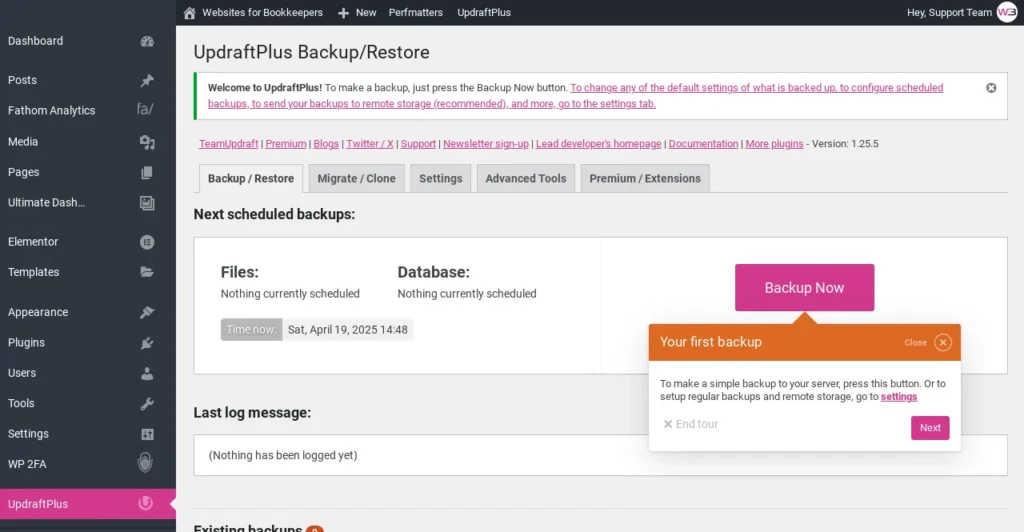
Don’t Forget to Save a Backup
Once your calendar is embedded, go to Settings > UpdraftPlus Backups and click Backup Now to save your latest changes.
That’s It!
Your calendar is now live on your site and ready to help leads book with you, without the inbox overload.
Next up: How to Update Your Services Page Copy »
—or head back to the Help Center homepage to choose your next tutorial.