
Your header and footer appear on every page of your website—so it’s worth taking a few minutes to customize them.
The header sets the tone, helps visitors navigate, and often includes your logo and a call to action. The footer provides trust-building details like contact info, legal links, and opt-ins.
This tutorial will show you how to:
- Access the global header and footer templates using Elementor
- Update your logo, navigation links, and footer content
- Add or remove sections like social icons, lead magnets, or testimonial carousels
- Save and back up your changes
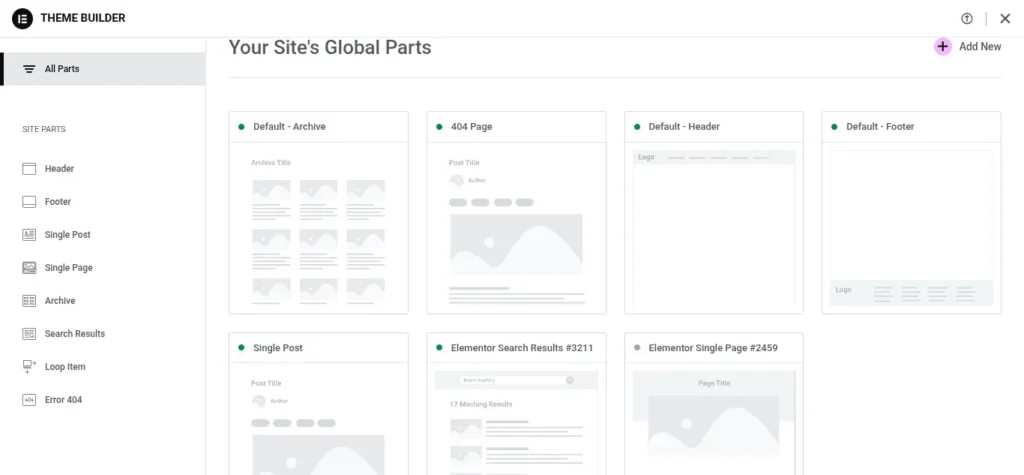
Step 1: Access Your Header & Footer Templates
These sections aren’t edited on individual pages. Instead, they live in your Theme Builder.
To access them:
- In your WordPress dashboard, go to Templates > Theme Builder
- Look for the templates labeled Header and Footer
- Hover over the template you want to edit and click Edit with Elementor

Step 2: Customize Your Header
Your header may include:
- Logo or site title
- Navigation menu
- Call-to-action button
- Mobile menu layout
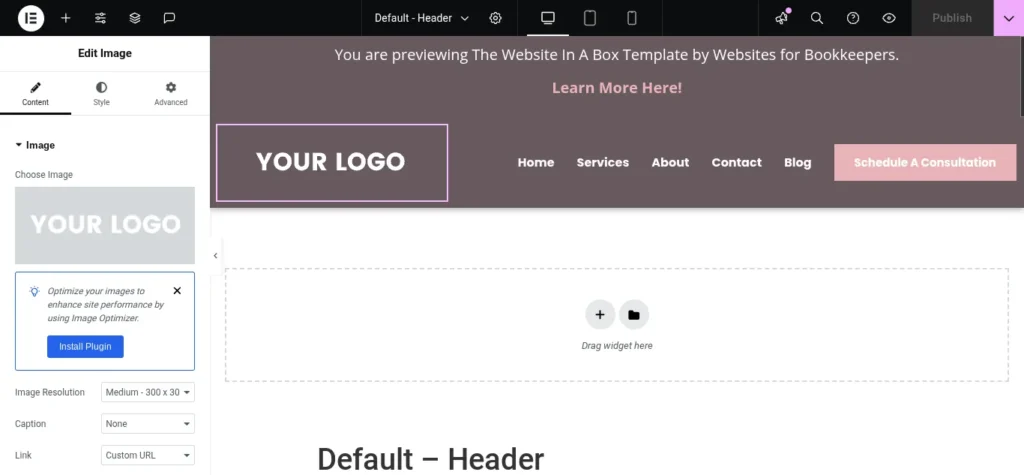
Update Your Logo or Site Title
- Click on the Image widget where your logo appears
- Use the left panel to upload your logo and adjust the size
- If using a text logo, click on the Site Title widget to change font, size, or wording
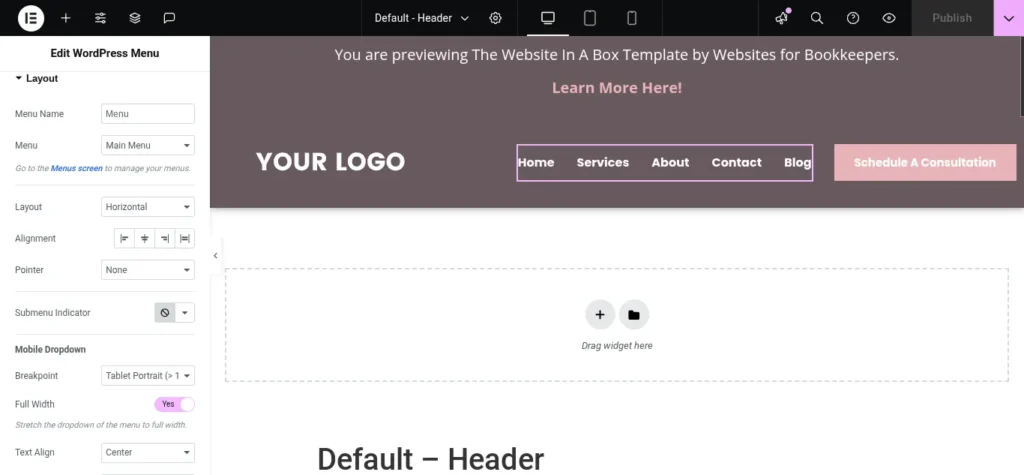
Edit Your Navigation Menu
- Click on the Nav Menu widget in the header
- In the left panel, choose the correct menu (usually “Main Menu”)
- To edit menu items, go to Appearance > Menus in your dashboard
From there, you can rename links, reorder items, and add new pages. Once saved, changes will automatically reflect in Elementor.
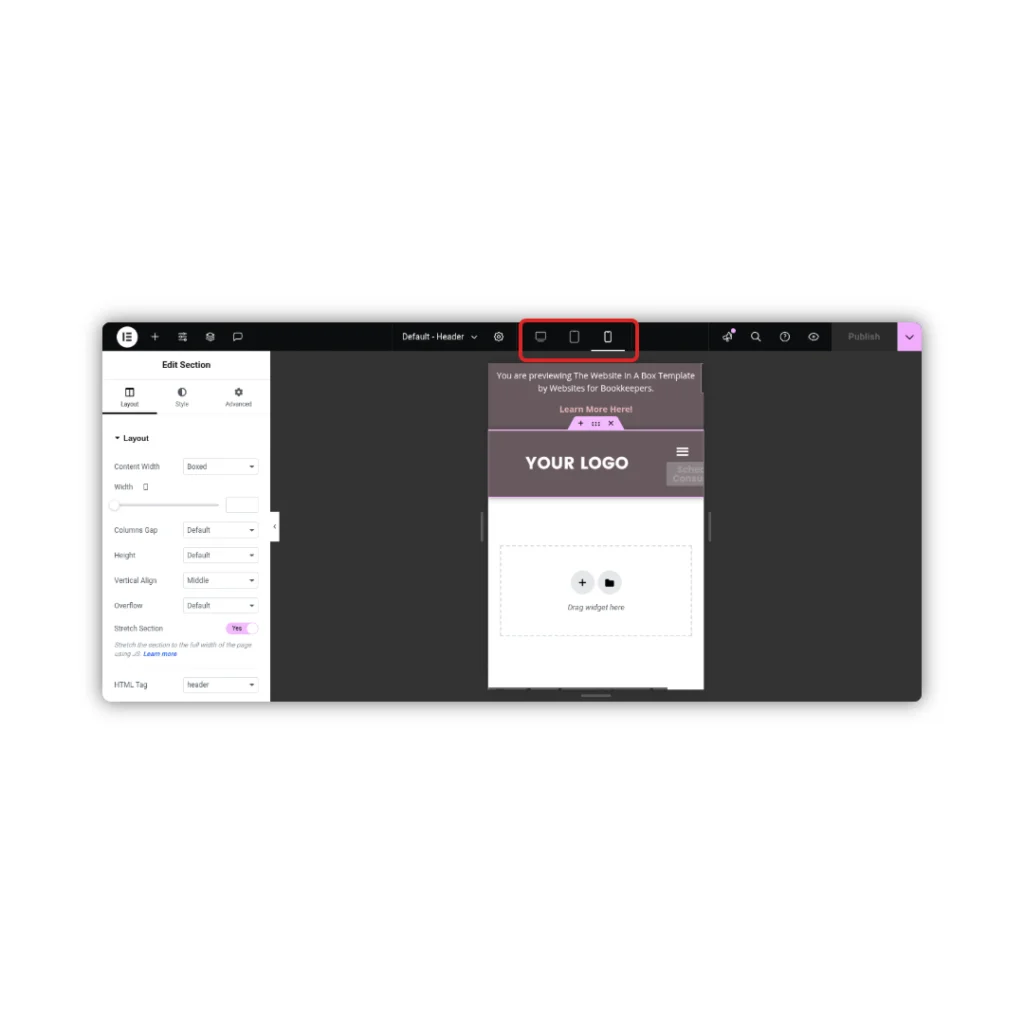
Adjust Mobile Header Layout
- Click the Responsive Mode icon (bottom left of Elementor)
- Switch to Mobile View
- Adjust spacing, alignment, and element visibility
Step 3: Customize Your Footer
Your footer often includes:
- Business description or tagline
- Contact info or email opt-in
- Social media icons
- Legal links (Privacy Policy, Terms, etc.)
- Copyright notice
- Optional elements like testimonials or lead magnets
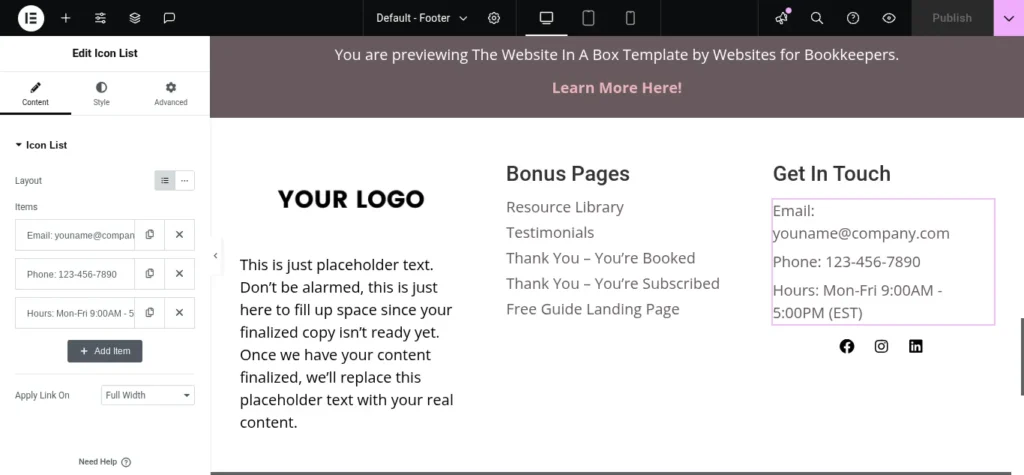
Update Contact Info, Opt-In, or Social Links
- Click on the section you want to change
- Use the left panel to update the text, icons, or links
- Replace any placeholders (like dummy email or social links)
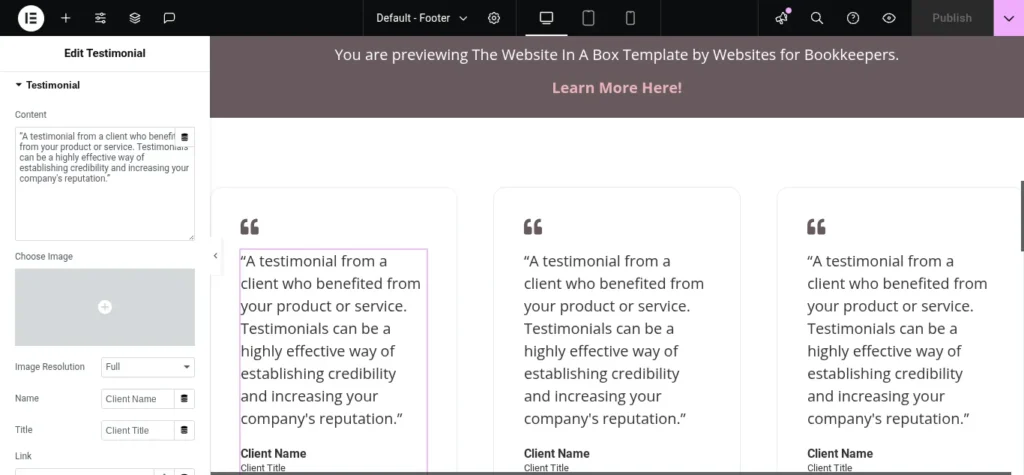
Edit or Remove Extra Sections
Some templates include extras like:
- Testimonial carousel
- Lead magnet form
- Trust badges
To customize:
- Click the section (e.g. carousel or form)
- Use the left panel to edit text, images, or buttons
- Right-click > Delete if you’re not using that section
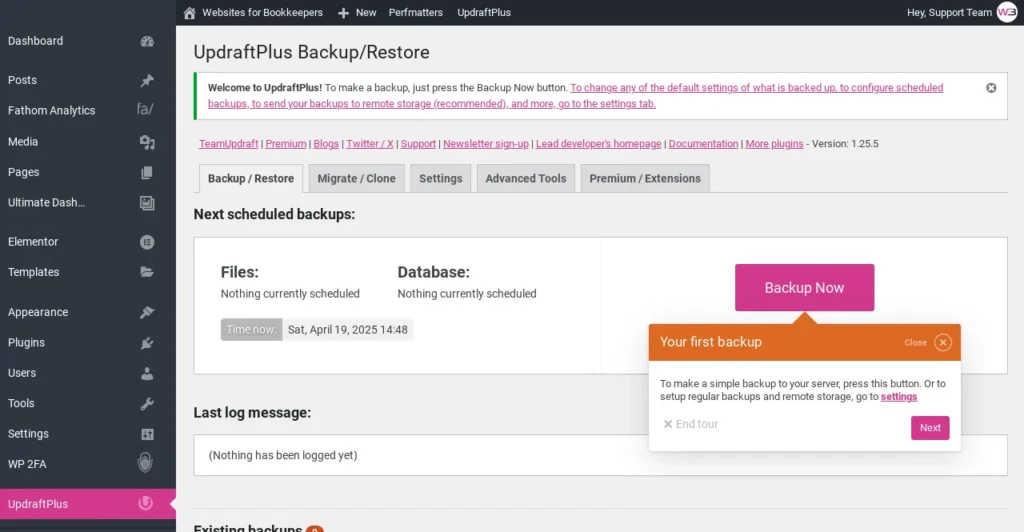
Step 4: Save and Back It Up
Once you’re finished updating both your header and footer:
- Click Update in Elementor to save your changes
- Go to Settings > UpdraftPlus Backups
- Click Backup Now to ensure your changes are safe
You’re Done!
Your site now has a polished, branded header and footer that works across every page. That’s one more step toward launching a site you’re proud of—without the tech overwhelm.
Next up: How to Customize Your 404 Page »
—or return to the Help Center homepage to choose another tutorial.