
Now that your logo and colors are set, it’s time to make the homepage your own. This guide will show you how to update the text, images, and layout of your homepage using Elementor—and the same process works for your About, Services, and other pages too.
No coding. No stress. Just click, edit, and save.
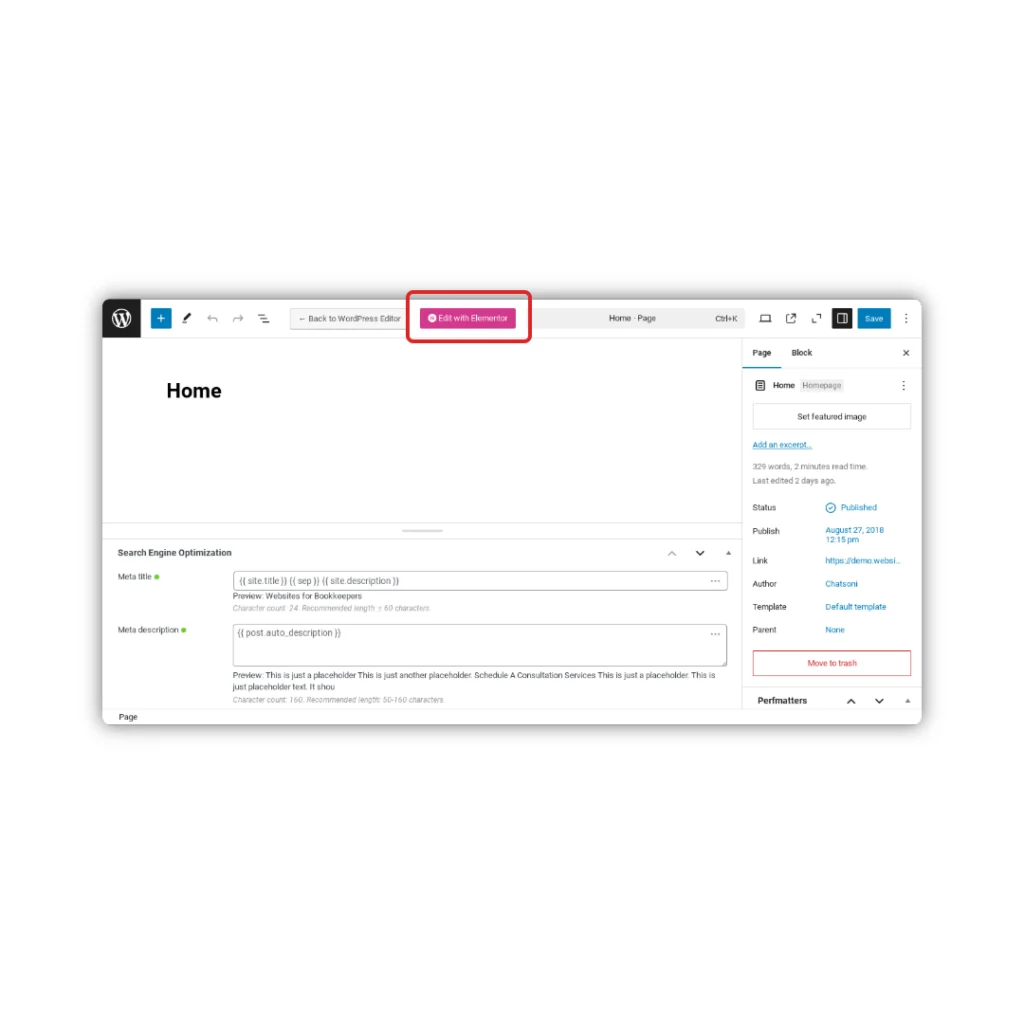
Step 1: Open the Homepage in Elementor
- From your WordPress dashboard, click Pages in the left menu.
- Hover over the page labeled Home and click Edit with Elementor.
This will launch the front-end visual editor, where you can make changes by clicking directly on the content.
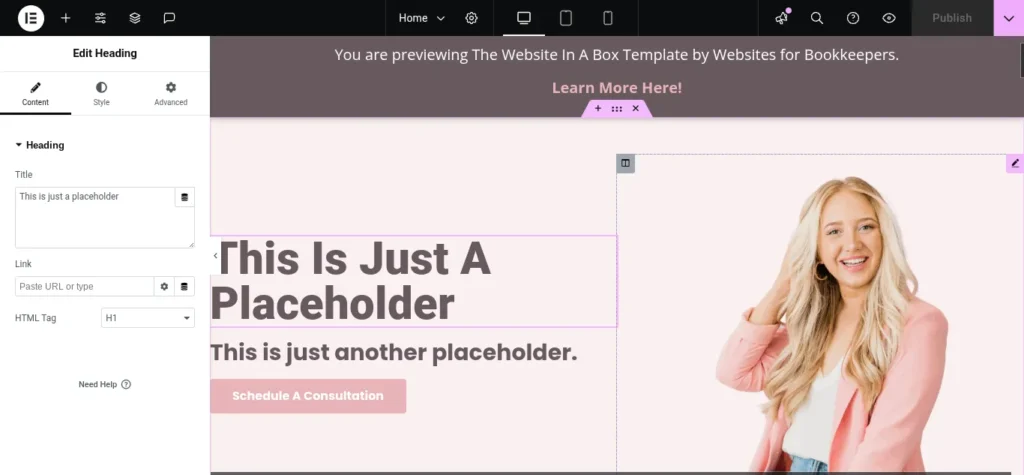
Step 2: Click to Edit Text
To change any headline or paragraph:
- Hover over the text you want to update.
- Click the pencil icon that appears.
- Make your edits in the panel on the left-hand side.
- Click Update at the bottom of the screen to save your changes.
Tip: Keep your copy conversational and client-focused. You can always come back and polish it later.
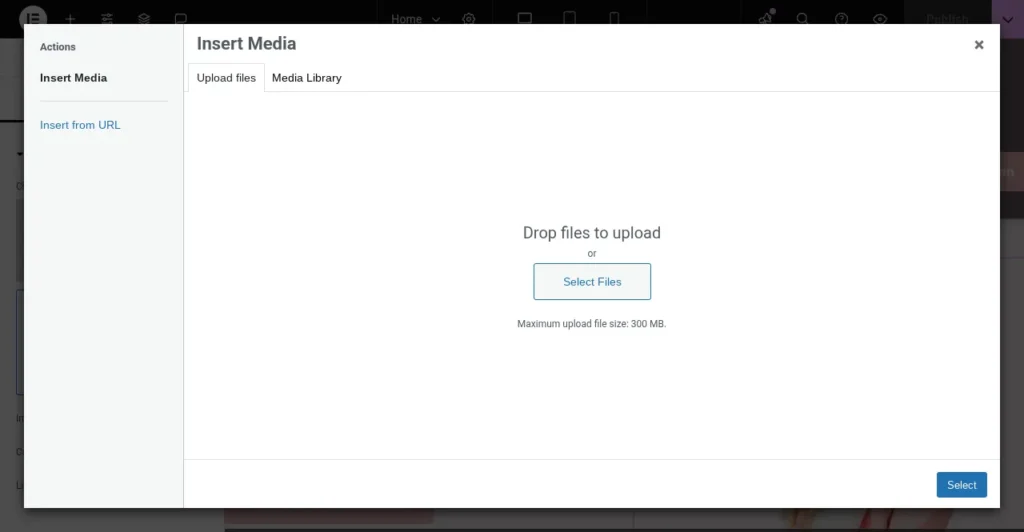
Step 3: Swap Out Images
To replace a photo or image on the page:
- Click on the image you want to change.
- In the left panel, click Choose Image under the Content tab.
- Upload a new image from your computer or choose one from your Media Library.
- Click Insert Media, and then click Update to save your changes.
Pro Tip: Optimize Your Images Before Uploading
Before uploading images to your site, I recommend compressing or converting them to WebP format using a tool like ShortPixel.
Why?
- Smaller images = faster load times
- Faster sites = better user experience + improved SEO
- WebP files are next-gen image formats that are crisp, modern, and ultra-light
ShortPixel has a free browser-based compressor (no account needed) that’s perfect for quick edits.
Recommended Image Sizes:
Properly size your images using the Canva templates below:
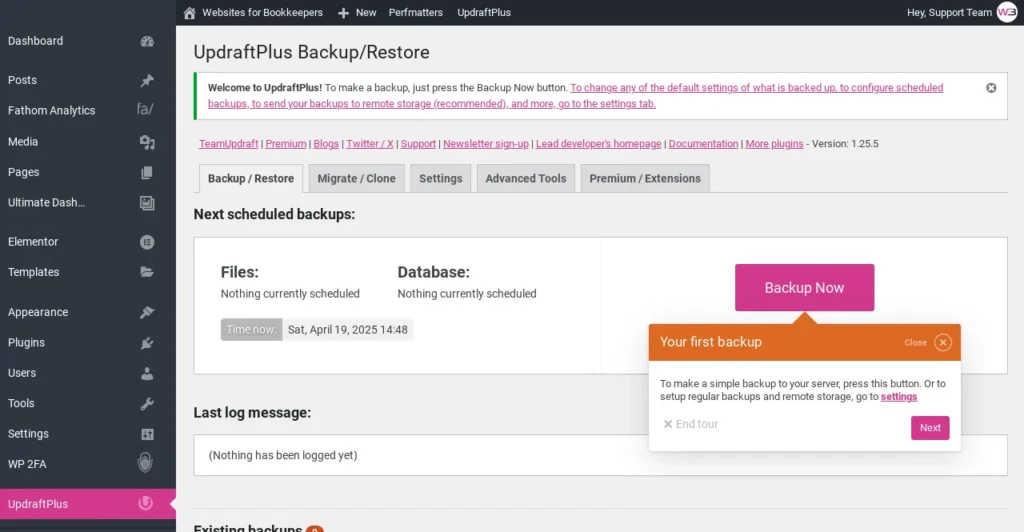
Step 4: Save a Backup
Before logging out, save a backup using UpdraftPlus:
- Go to Settings > UpdraftPlus Backups.
- Click the Backup Now button.
- Leave both checkboxes checked and run the backup.
This ensures your latest edits are saved in case you need to roll back.
You’re Done!
That’s it! Your homepage is now personalized, and you’ve officially made your first edits in Elementor.
You can follow these same steps to customize your:
- About Page
- Services Page
- Contact Page
- Lead Magnet Page
- Testimonials Page
Next up: How to Edit Your About Page »
—or skip ahead to whatever page you’re ready to tackle next!