
Now that you’ve edited your homepage, you’re officially ready to update the rest of your site.
The good news?
If you can edit one page in Elementor, you can edit them all. The steps are exactly the same:
- Go to Pages > [Page Name]
- Click Edit with Elementor
- Click any text, image, or section to update it
- Click Update to save
- Optional: Save a backup when you’re done
But just in case you’re wondering what to edit or focus on for each page, this guide will walk you through it, plus how to edit any landing pages built using Elementor.
Use the Copy Bot to Draft Your Website Content Faster
Before you dive into editing your pages, don’t forget—your template includes access to the Website in a Box Copy Bot to help you generate clear, personalized website copy in minutes.
Here’s how to use it:
- Open the Website in a Box Copy Bot
- Paste your completed Website Messaging Questionnaire into the chat
- Use the Copy Bot to generate content for your:
- About Page
- Services Page
- Contact Page
- Landing Pages
- And more!
Once your copy is ready, you can paste it directly into Elementor and tweak as needed. It’s like having a writing assistant on-call—without the hourly rate.
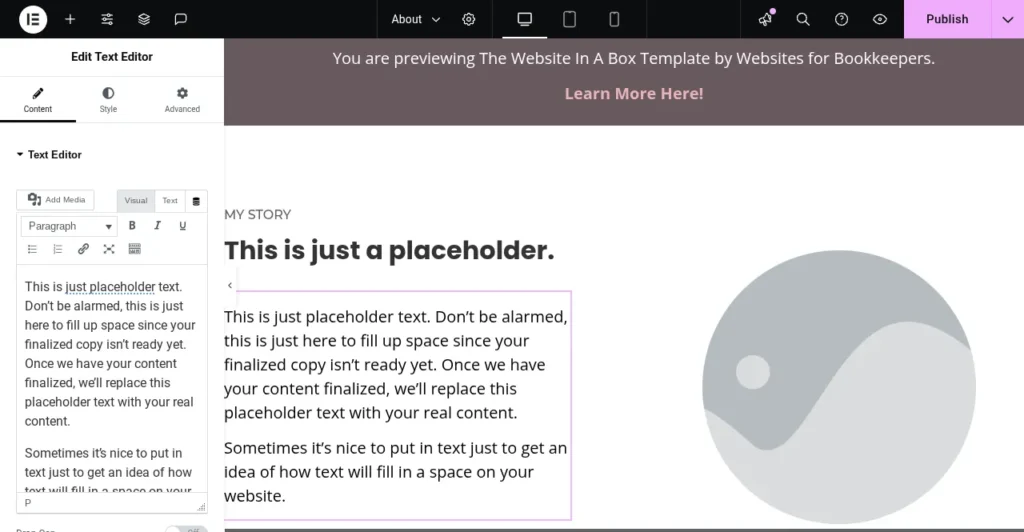
About Page
Your About page is where you show potential clients who you are and why they can trust you.
Update the following:
- Your intro (Tip: Make it about them, not just you)
- Professional headshot or brand photo
- Bio section—what makes your approach unique?
- Mission, values, or what you believe in
- Optional testimonials, certifications, or logos
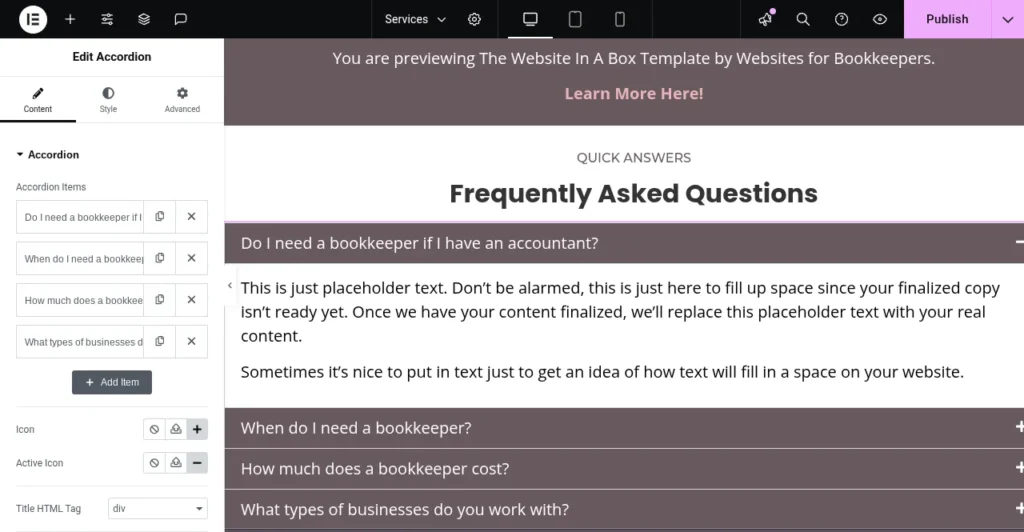
Services Page
The Services page is where you clearly explain what you do and who it’s for.
Update the following:
- Headline (What you offer)
- List or description of your packages or services
- Call-to-action button (Link to your contact form or calendar)
- FAQs (edit or remove depending on your needs)
Contact Page
This page makes it easy for leads to reach out. Keep it simple!
Update the following:
- Your business email address
- Your calendar embed link (from Calendly, Practice, etc.) Click Edit Global Widget
- Social links (if you want to include them)
- Contact form settings (optional—most clients stick with email/calendar)
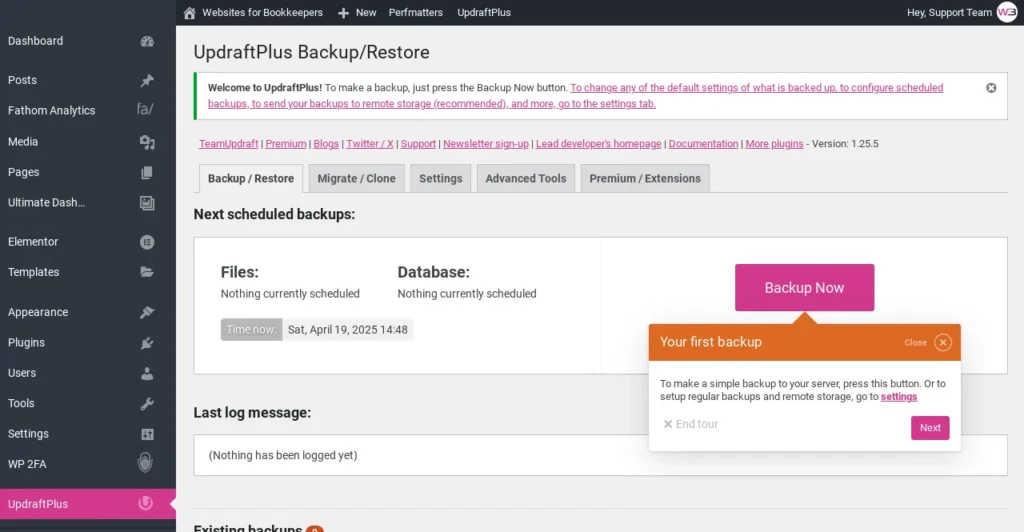
Save a Backup After Each Editing Session
Don’t forget to save a backup when you’ve made updates to multiple pages.
Go to Settings > UpdraftPlus Backups > Backup Now.
Final Tip: Work in Small Chunks
If you’re planning to update your entire site over a weekend (or a few late nights), don’t try to do everything in one sitting.
Tackle 1–2 pages at a time, save a backup, and come back with fresh eyes later.
You’re building a digital home for your business, so take your time and make it feel like you.
Next up: How to Embed Your Calendar on the Site »
(or head back to the Help Center homepage to pick your next task)