
Your Lead Magnet Page (sometimes called a freebie page or opt-in page) is designed to turn website visitors into email subscribers. It gives people a quick win, like a checklist, guide, or template, in exchange for their email address.
In this tutorial, you’ll learn how to:
- Update your lead magnet headline and form
- Collect emails with no tech setup required
- Deliver your freebie via a built-in Thank You page
- Use Canva to create your lead magnet
- And access done-for-you templates to save even more time
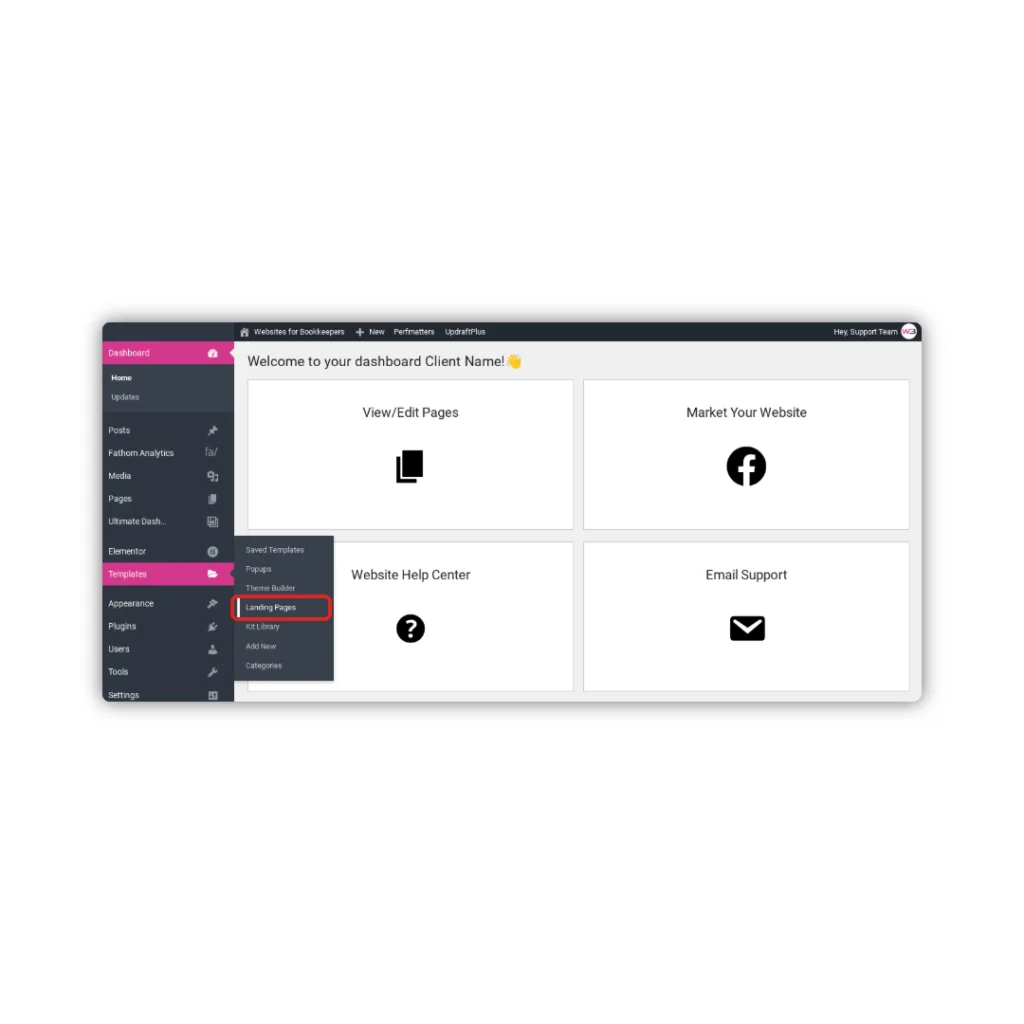
Step 1: Open the Lead Magnet Page in Elementor
- In your WordPress dashboard, go to Pages > Lead Magnet
- Click Edit with Elementor
If you don’t see a page called “Lead Magnet,” check for something like “Freebie” or “Checklist”—your page may be named after the resource.
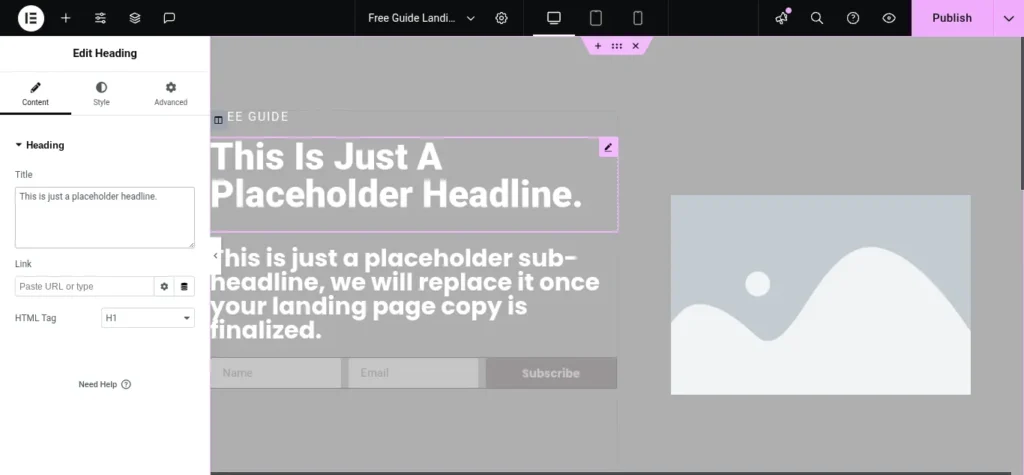
Step 2: Update the Headline and Subheadline
Your headline should quickly explain what the freebie is and why someone should grab it.
Examples:
- “The Simple Website Checklist for Virtual Bookkeepers”
- “Download My Monthly Bookkeeping Template”
- “Get My 5-Minute Client Onboarding Workflow”
Prompt:
- What’s the benefit?
- Who’s it for?
- How fast is the result?
Step 3: Customize Your Lead Magnet (Optional)
If you haven’t created your lead magnet yet—or if you want a polished one without spending hours in Canva—I recommend The Social Accountant membership.
You’ll get:
- Done-for-you lead magnet templates
- Fully editable in Canva
- Designed specifically for bookkeepers and accounting pros
- Matching social posts and email swipe files
No design skills required—just plug in your content and go.
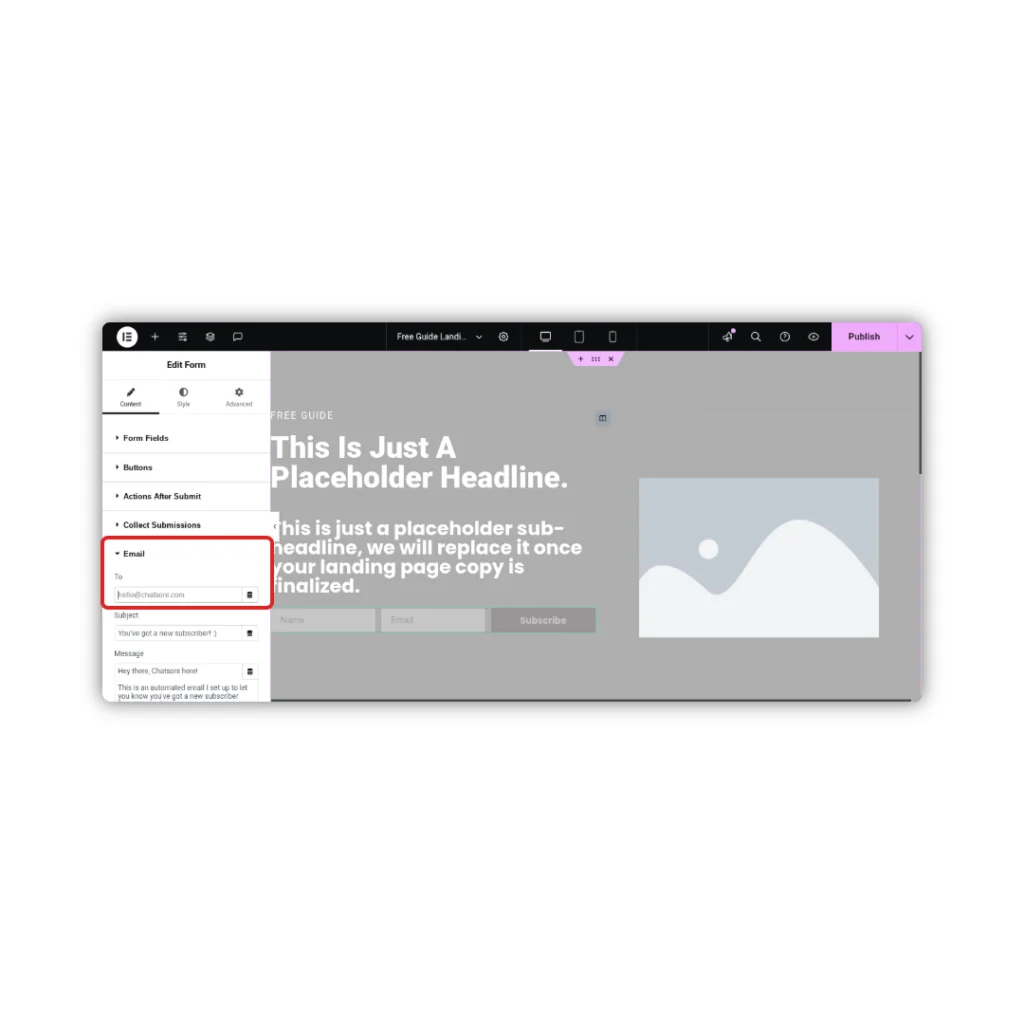
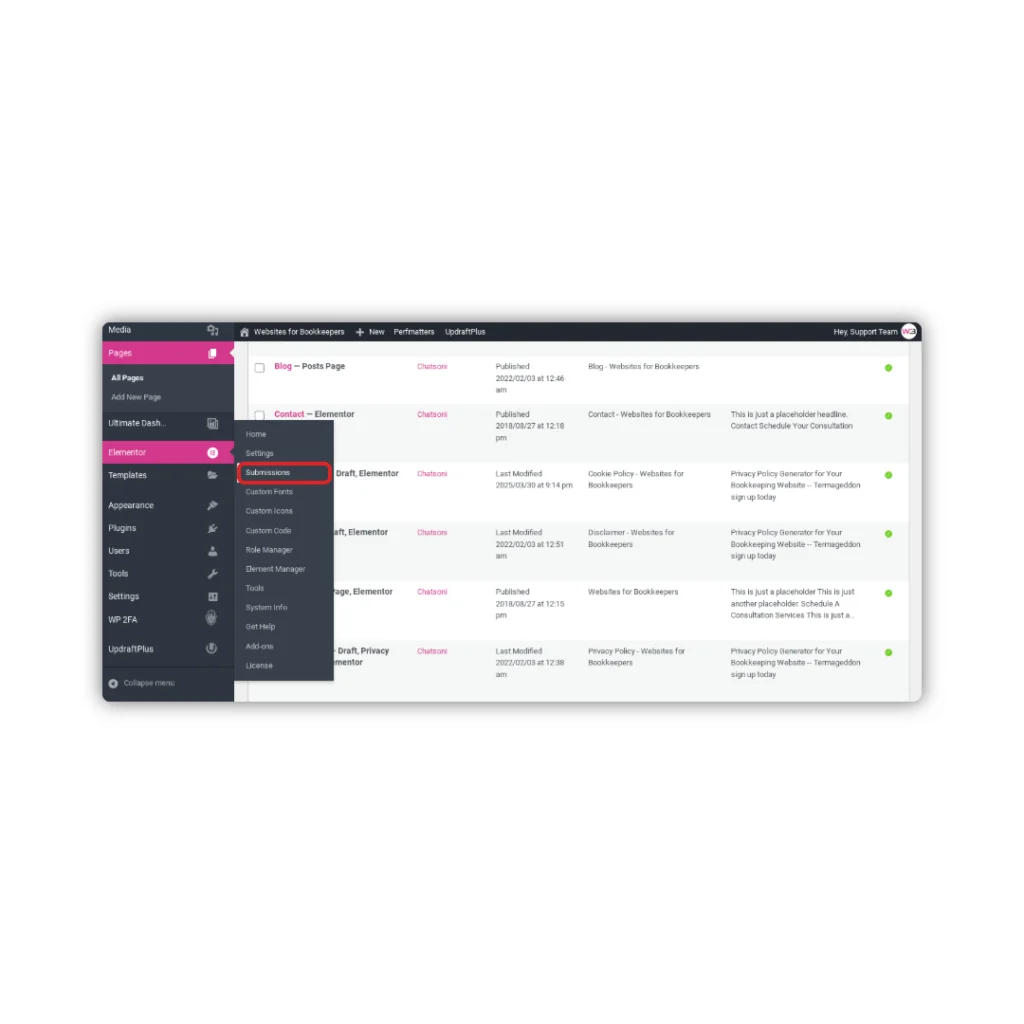
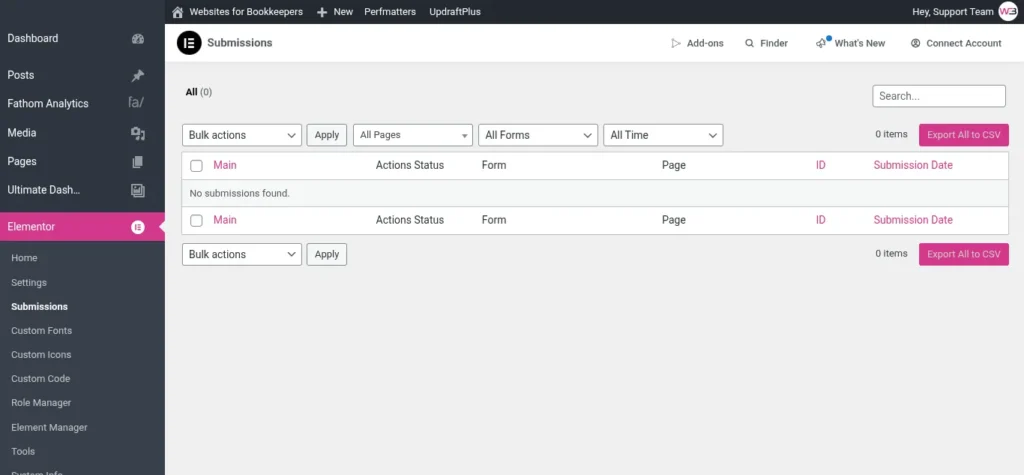
Step 4: Make Sure You Receive Form Submissions
By default, form entries are stored in Elementor > Submissions—but if you want to be notified when someone signs up, you need to add your email address to the form settings.
Here’s how:
- Click on the form in Elementor
- In the left panel, go to the Email tab under Actions After Submit
- Enter your preferred email address in the To field
- (Optional: Edit the subject or message for your notification email)
- Click Update to save
Step 5: Customize the Thank You Page (Already Set Up)
A Thank You page is already created, and the form is set to redirect to it automatically—no extra setup needed!
To customize:
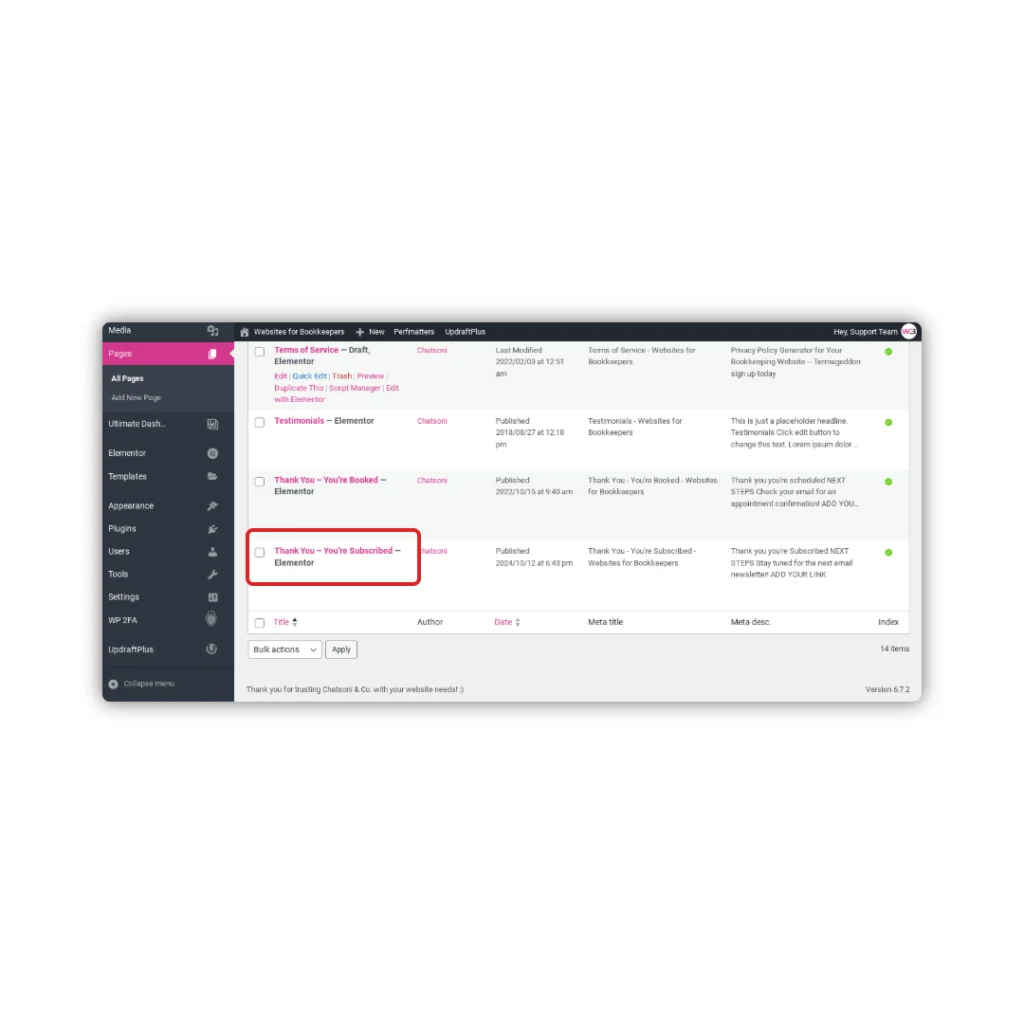
- In your dashboard, go to Pages > Thank You
- Click Edit with Elementor
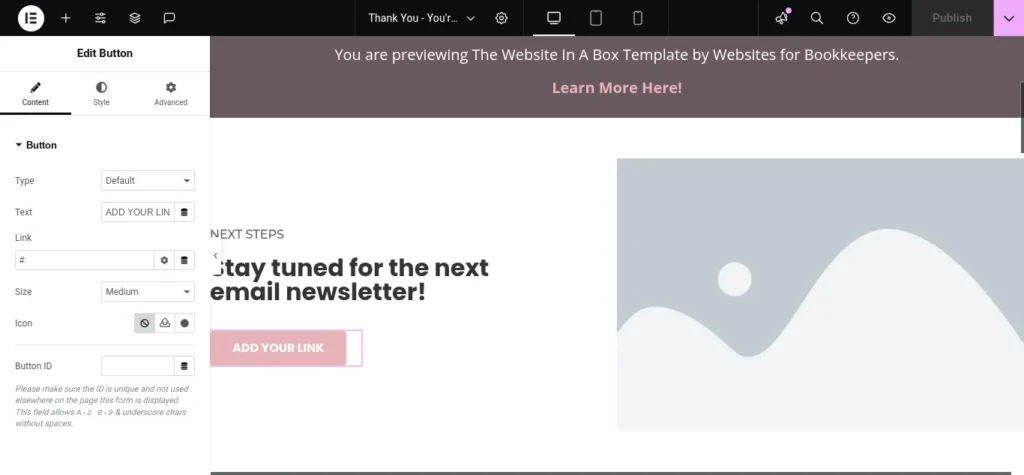
- Update the text to match your brand voice and freebie offer
- Replace the image if you’d like
- Edit the CTA button to link directly to your lead magnet file (e.g., PDF, Dropbox, or Google Drive link)
Unless you change the name or URL of the Thank You page, you don’t need to modify the redirect—it’s already built in.
Step 6: Save and Test
- Click Update in Elementor
- Submit the form using your email
- Confirm that:
- You receive a notification email
- The form submission appears under Elementor > Submissions
- You’re redirected to the correct Thank You page
- The download link/button works as expected
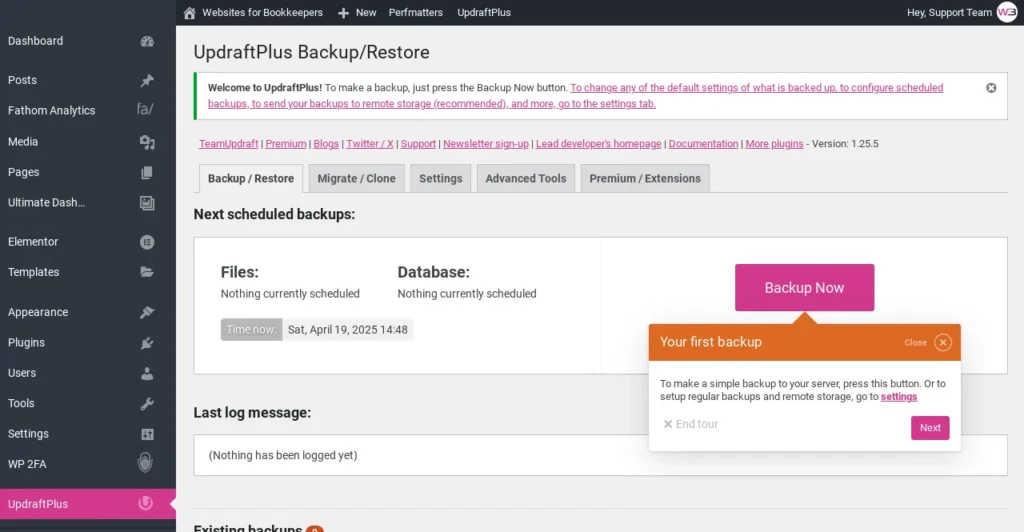
Then go to Settings > UpdraftPlus Backups > Backup Now to save your latest changes.
You Did It!
Your lead magnet page is now live and working—no email marketing setup required just yet.
And when you’re ready to grow your list or automate delivery?
Done-for-you templates, lead magnet ideas, and marketing help are all inside 👉 The Social Accountant »
Next up: How to Add or Update Testimonials on Your Site »
—or return to the Help Center homepage to choose another tutorial.