
A 404 page shows up when someone tries to visit a page on your site that doesn’t exist—maybe they clicked a broken link, typed in the wrong URL, or landed on a page you’ve since deleted.
It’s not glamorous, but it’s important.
Instead of leaving visitors confused or frustrated, your 404 page can gently guide them back to the right place, with a little personality and helpful navigation.
Step 1: Where to Find Your 404 Page
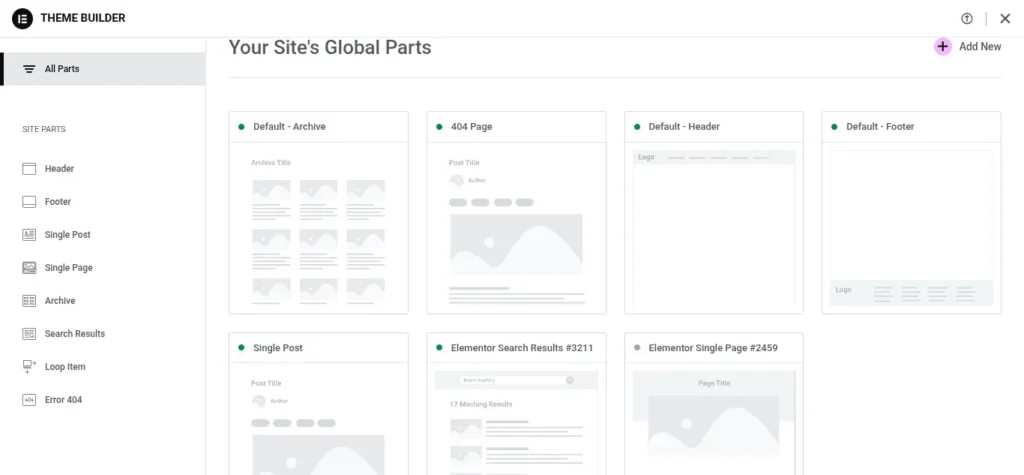
Unlike your regular pages, the 404 page is managed under Elementor’s Theme Builder.
To edit it:
- In your WordPress dashboard, go to Templates > Theme Builder
- Find the template labeled 404 Page
- Hover over it and click Edit with Elementor
Step 2: What’s Already Set Up
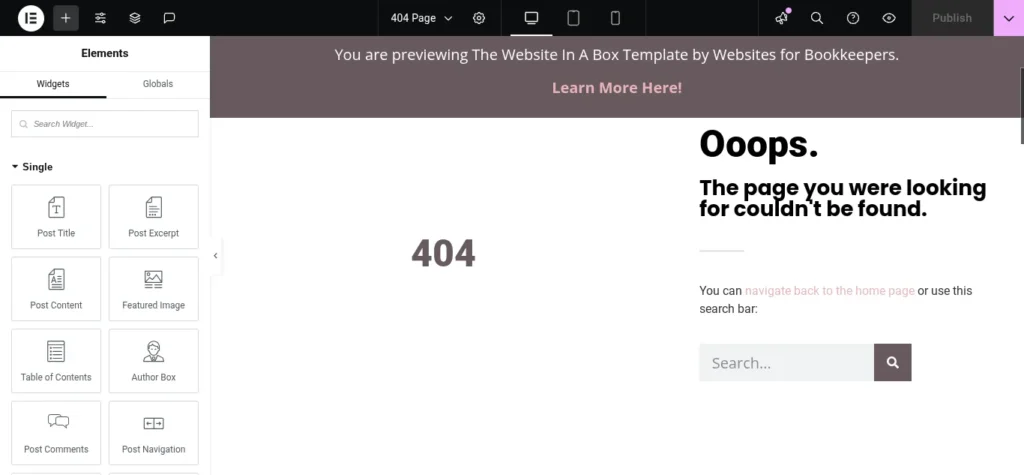
Your 404 page is designed to be clean and helpful, not overwhelming or cluttered.
It includes:
- A friendly message letting the visitor know the page couldn’t be found
- A button to return to the homepage
- A search bar so they can find what they were looking for
This gives them a soft landing and an easy way to stay on your site instead of bouncing away.
Step 3: What You Can Customize
Feel free to make small tweaks to match your voice or brand personality.
You can:
- Update the headline or message to sound more like you (friendly, reassuring, maybe even a little witty)
- Change the button text (e.g., “Take Me Home” or “Back to Safety”)
- Edit the link on the button if your homepage URL ever changes
- Style the search bar if you want to adjust spacing or colors
Keep the page minimal—this isn’t a place to sell or overwhelm. It’s a gentle nudge back in the right direction.
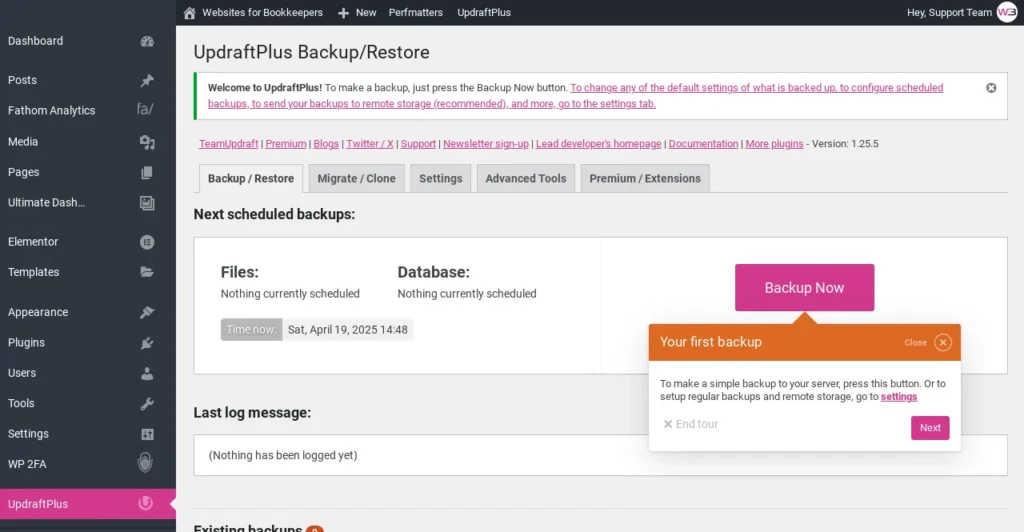
Step 4: Save and Back It Up
Once you’ve made your edits:
- Click Update in Elementor
- Go to Settings > UpdraftPlus Backups
- Click Backup Now to save your work
Final Tip: Want to Test It?
To test your 404 page, type a random made-up page on your domain into your browser, like:
yourdomain.com/thispagedoesnotexist
You should land on your 404 page. If you see it, everything is working as it should!
You Did It!
Your 404 page is now customized and quietly doing its job—catching broken links, helping lost visitors, and keeping people on your site with confidence and clarity.
Next up: How to Create a Blog Post »
—or return to the Help Center homepage to choose your next tutorial.