
Social proof builds trust, and your Testimonials Page/section is the perfect place to show off real feedback from real people who love working with you.
This tutorial will show you how to:
- Edit the testimonial content, name, and title
- Add or remove testimonials
- Optionally include images or logos
- Keep everything looking consistent using Elementor
Step 1: Open the Testimonials Page in Elementor
- In your WordPress dashboard, go to Pages > Testimonials
- Click Edit with Elementor

By default, each testimonial includes:
- A quote or short review
- The client’s name
- Their title or business name
Adding a photo or logo is optional.
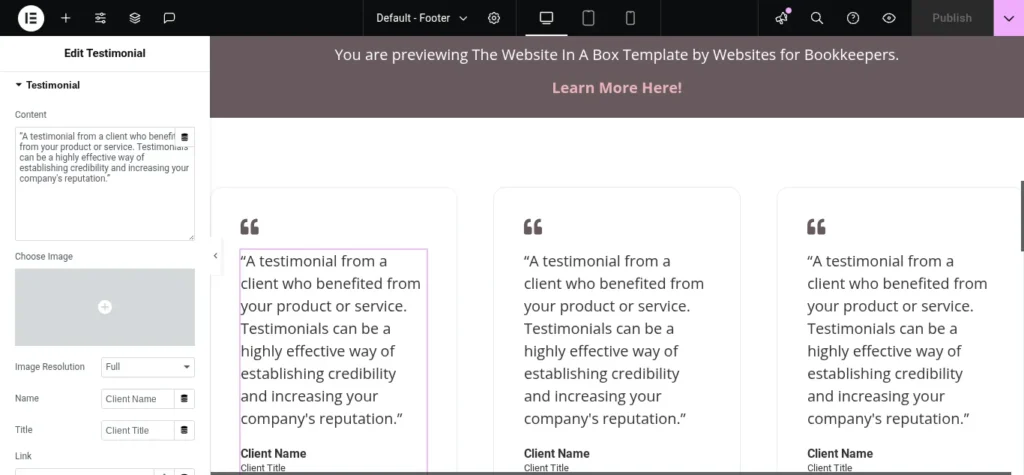
Step 2: Edit an Existing Testimonial
To update a testimonial:
- Hover over the section you want to change
- Click the pencil icon
- Update the text, name, and title/business fields
- (Optional) Add an image if you’d like
- Click Update to save
Pro Tip:
If you’re just starting out, focus on the words—testimonials without images still work great when they’re honest and specific.
Step 3: Add a New Testimonial
You can duplicate an existing testimonial block to keep the styling consistent.
- Right-click on a testimonial column or container
- Click Duplicate
- Edit the content, name, and title for the new client
- Click Update
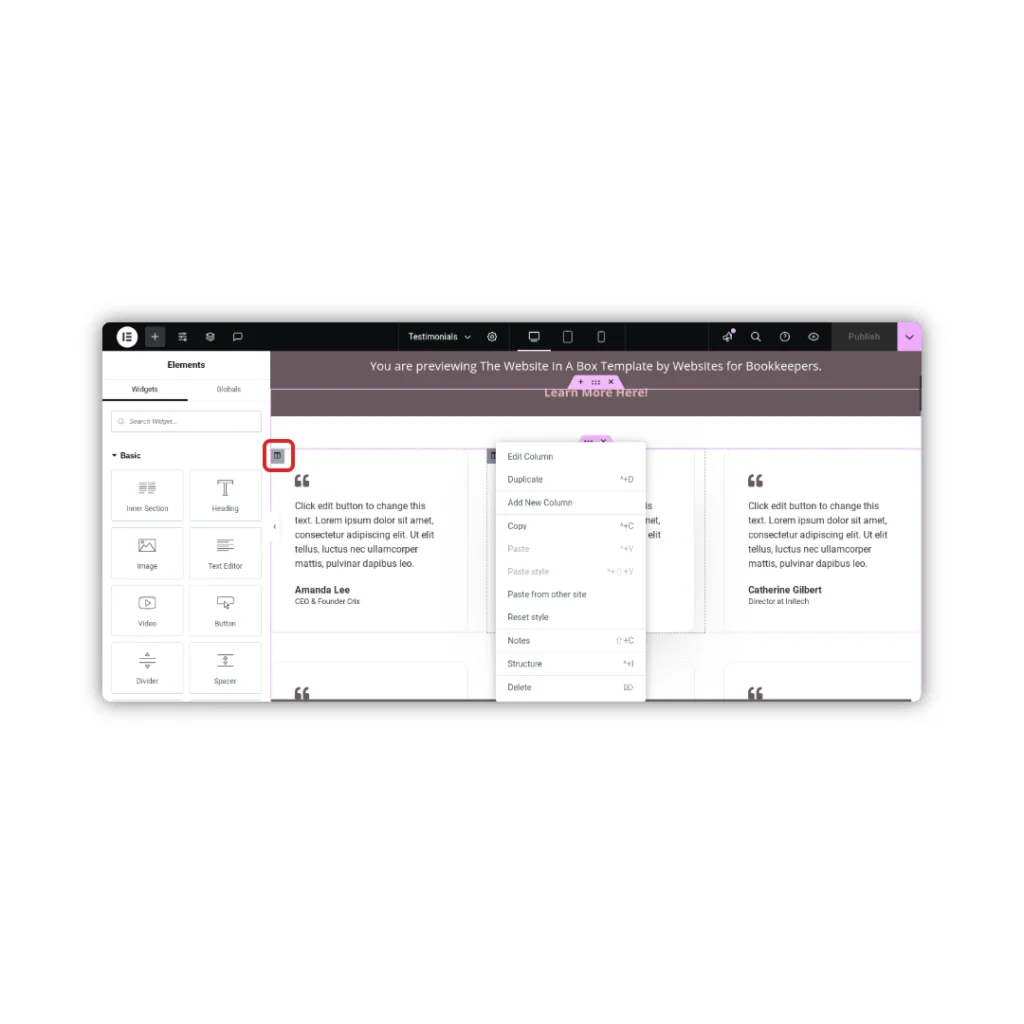
Step 4: Remove a Testimonial
If you only have a few testimonials, no worries—just delete any extras for now.
- Right-click the testimonial block or section you want to remove
- Click Delete
- Click Update
You can always come back later and add more as your business grows.
Step 5: Tips for Writing or Formatting
Want to make your testimonials pop? Try this:
- Keep quotes short and scannable (2–3 sentences is perfect)
- Bold keywords or phrases that highlight results
- Use only first names if clients prefer privacy
- Include titles like “Owner, ABC Bookkeeping” or “Health & Wellness Coach” to build credibility
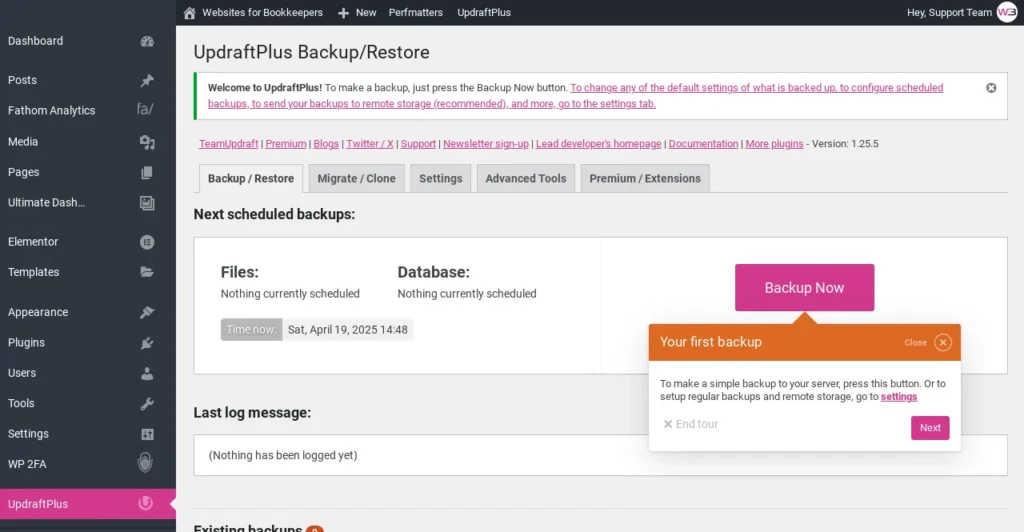
Step 6: Save a Backup
Before logging out:
- Click Update in Elementor
- Go to Settings > UpdraftPlus Backups
- Click Backup Now to save your changes
You’re Done!
Your Testimonials Page is now up to date and ready to do the talking for you.
Next up: How to Edit Your Website Footer »
—or return to the Help Center homepage to pick another tutorial.